Sharing your event to attendees
Last updated: September 5, 2025
Before the event you need to spread the word. In Videosync, there are multiple ways to share your event to your attendees. The simplest way is to copy the event link or embed the event, but you can also reach out to users via email.
Sharing the event link
The most straight-forward way to share the link to your audience is to copy it in Share → Share and Embed. You can simply click the copy icon.
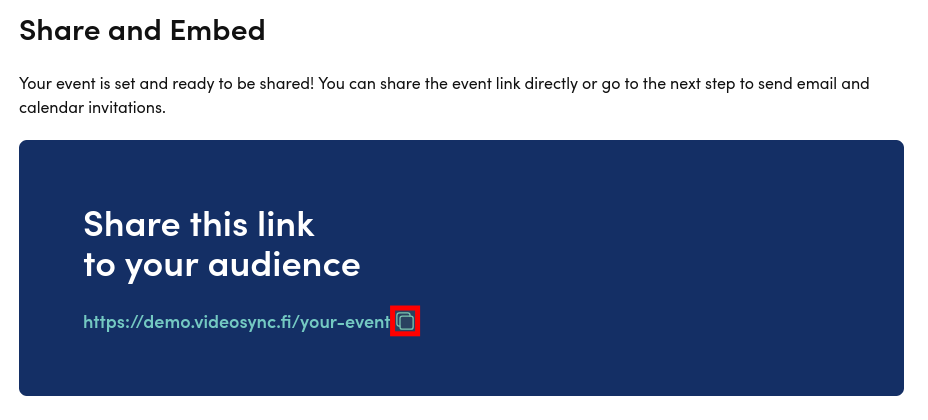
Now you can share the link directly to your attendees from your clipboard!
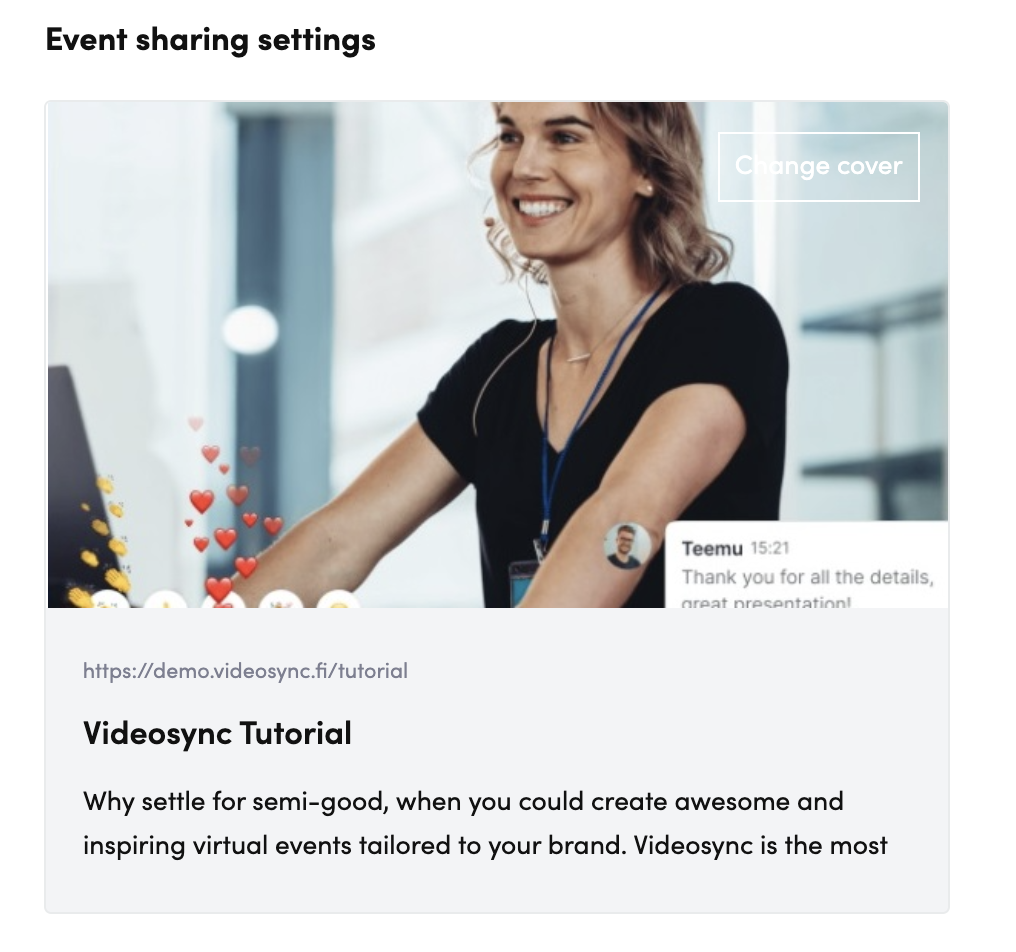
In Event sharing settings, you can also change how the link preview will look, for example, on social medias.
Embedding the event on external website
You can also embed the event to your own website by using event-specific embed code in Share → Share and Embed.
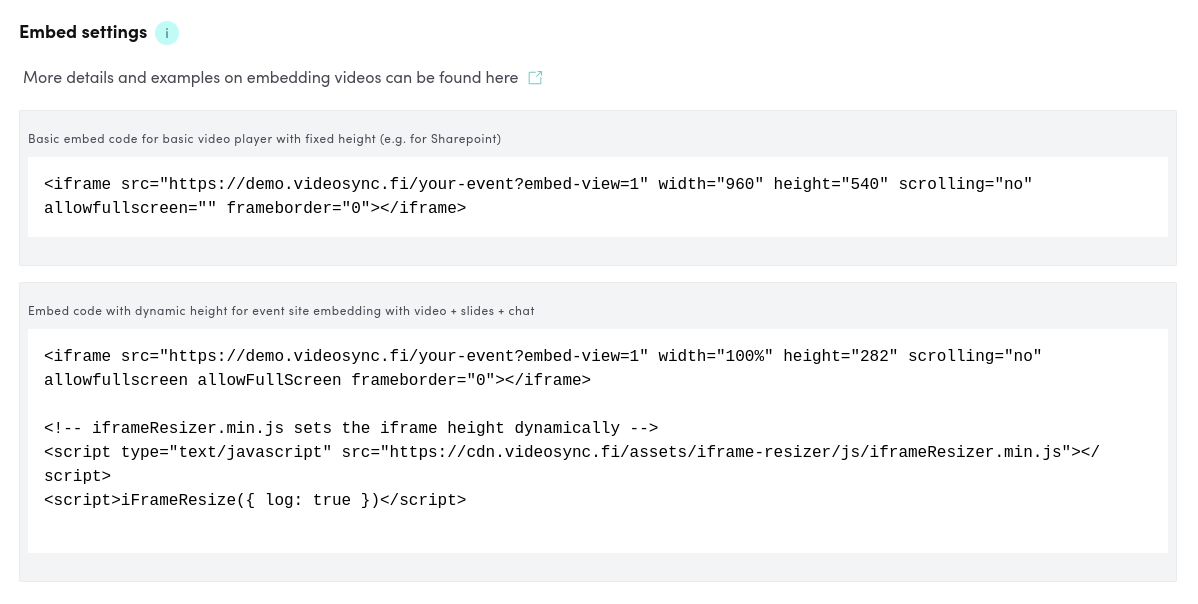
We recommend using the longer embed code because it adapts to the size of the player automatically, but it is also possible to simpler embed method by using the shorter embed code.
If you want to differentiate analytics from different embed locations, add different embed location names accordingly to different embed codes. Views and unique users from each embed location will be visible in the analytics dashboard.

Reaching out via email
Videosync can send reminders, registration confirmations and invites for you.
You can find Email settings in two locations:
- Build → Registration → Email settings → Email settings
- Share → Invite
Sending invitations
To invite attendees to your event using email, go to Share → Invite.
Modify invitation email
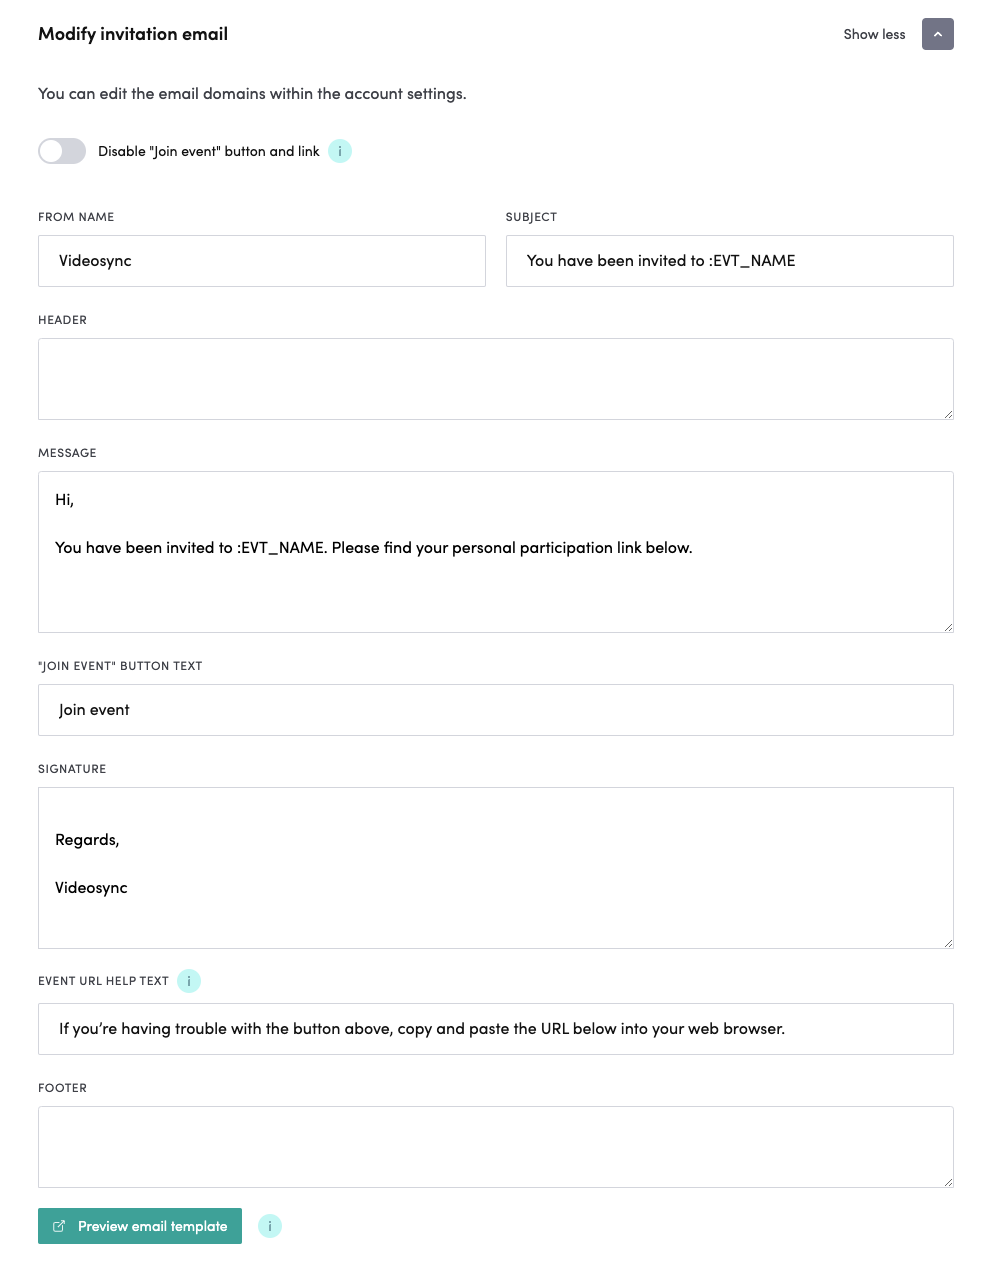
In these settings, you can modify the settings of invitation emails. You can change the sender, email subject, message (with separate header & footer), Join button’s text, signature and help text. There is also a button to preview the invitation email to see how it looks in the participants’ email.
Send as a calendar invitation
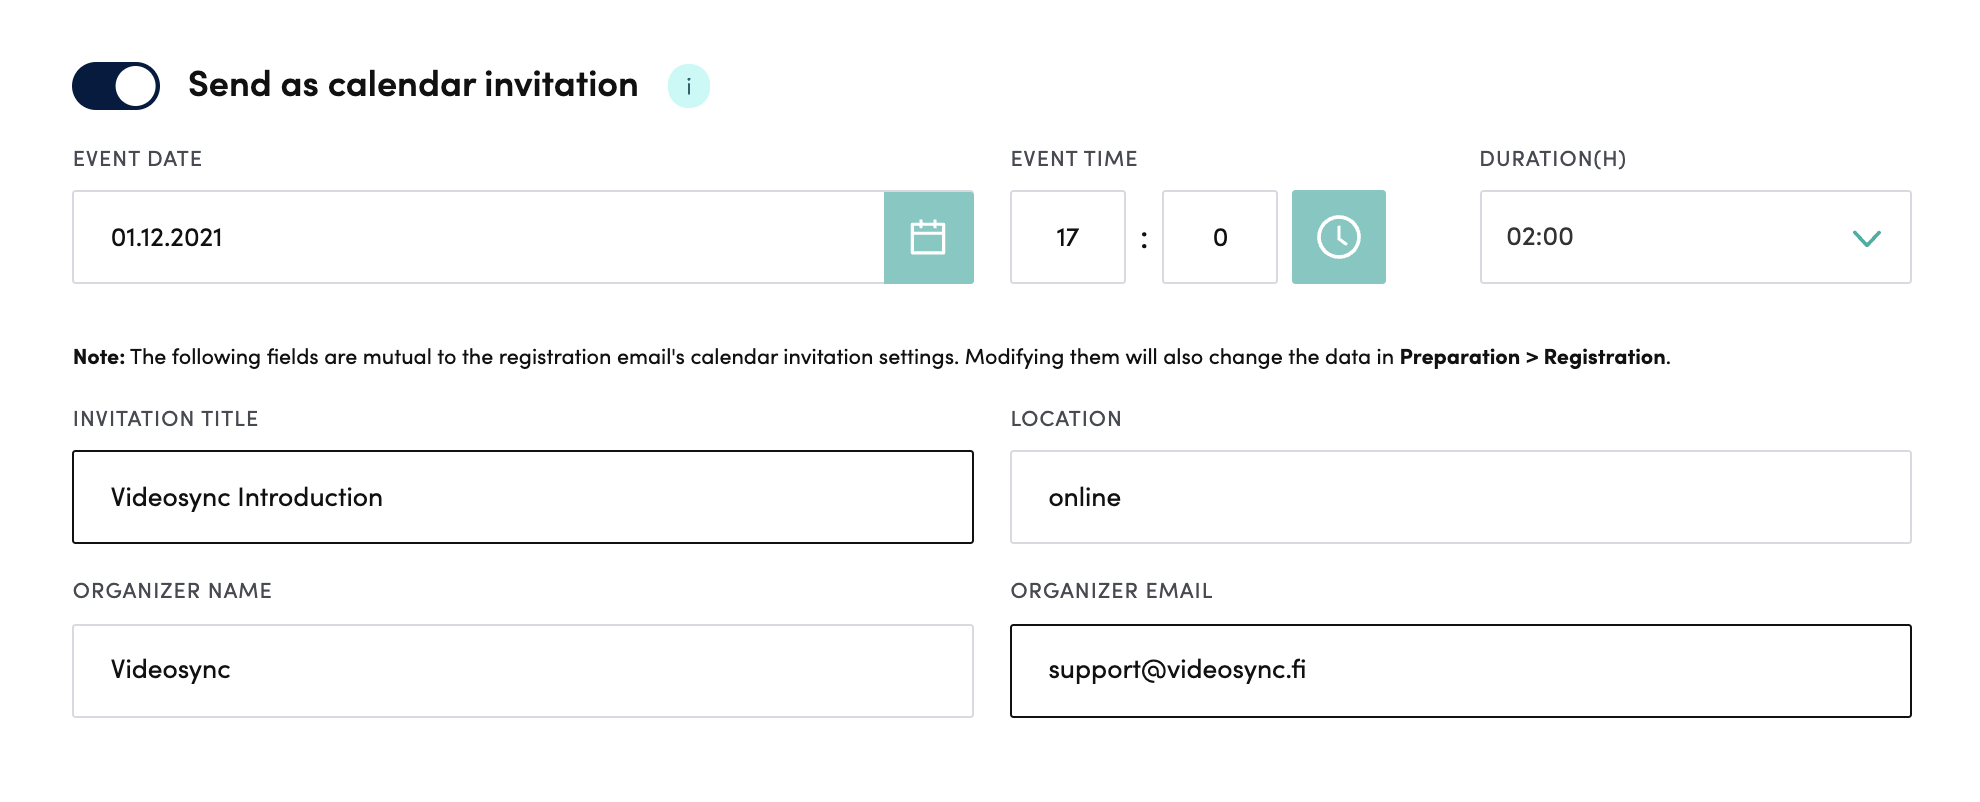
You can include a calendar invitation to your email message. If you need to, you can change the event dates and calendar title, location and organizers. You can use :EVT_NAME also in calendar invitations.
Add participants & send invitations
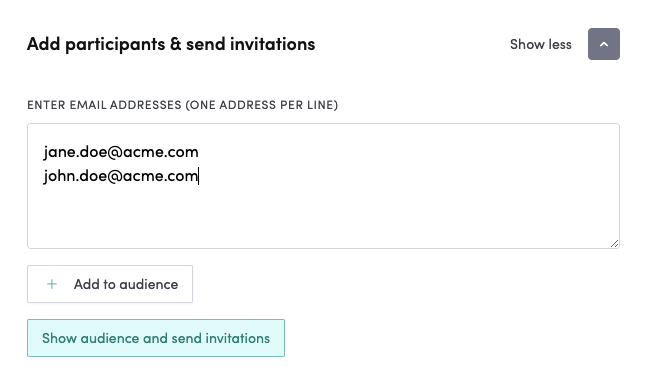
You can add email addresses to the textarea as shown above. To add the registrants, click the Add to audience button.
If you want see the registrants or/and send invitations, click Show audience and send invitations. The list contains all registrations, which you can modify and remove.
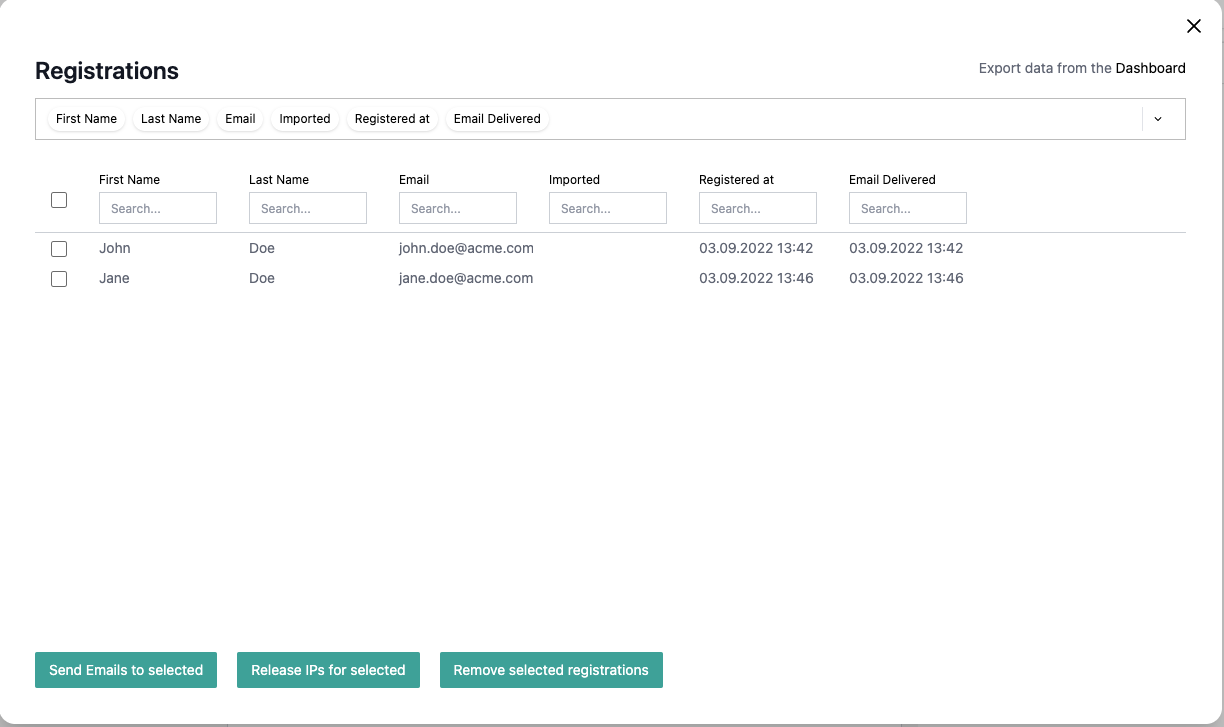
To send the invitation email, select all or certain ones from the leftmost column and click Send Emails to selected.
Sending invitations to a specific participant group
You can also send emails to only some of the participants.
Here, for example, a custom registration field Location is used to filter out the participants that have selected On-site as their location in the registration form.
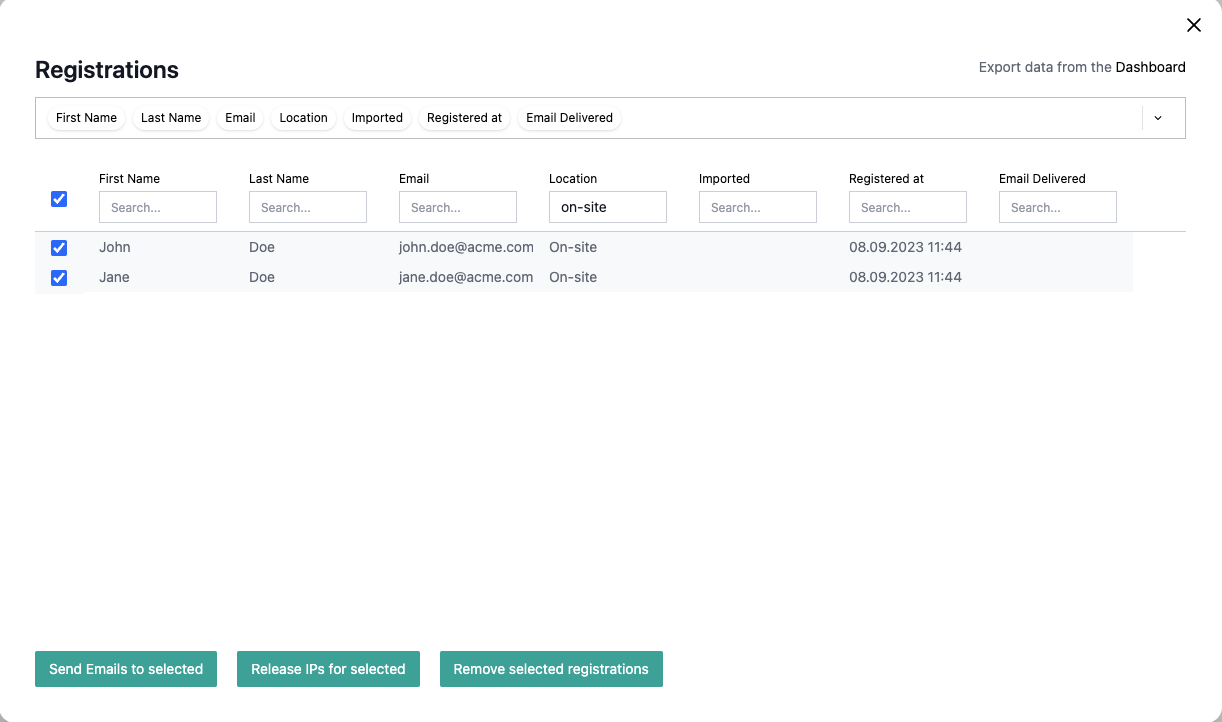
First, you filter out the participants by using the input field on the top of the Location column to show only on-site participants, then select all from the leftmost column and click Send Emails to selected.
It is good to note that when sending emails using Send Emails to selected sends invitation email template, not the registration email template.
You can also edit the invitation email beforehand to personalize it for on-site users using the Modify invitation email settings before sending.
Setting email reminders
Videosync allows you to set up automated email reminders that will be sent to registered users before or after your event. For detailed instructions on setting up reminders, see Setting email reminders.
FAQ
My modifications to email template aren’t taking effect
Registration confirmations, reminders and invites use separate email templates. If your changes to template aren’t taking effect, you should probably edit another template. It is also good to note that calendar invites can be found both in invitation and registration sections.
An email wasn’t delivered after registration
You might just have registered or the email sending might be capped out because of other time-sensitive reasons. Please see the Smart Anti-Spam Protection section in the email reminders article for details and probable reasons.